

We finally dyed Easter Eggs! I have been wanting to dye eggs with food items the past few years, but thought it would be too much of a hassle with a baby. This year, with a little extra time on my hands I took the plunge and did it. I think I might have had more fun than my toddler did and it was a good experiment…for both of us!
Details below on what we did and didn’t do. Honestly I kinda just did whatever and the results showed, but at this time, I think its better to go with the flow than try to do too much perfectly.
I boiled a dozen eggs the day before, so they would be totally cold by the time we went to dye them. You can boil the eggs in the dye (which results in a richer, more even hue, but harder with a 3 year old). I made the dye during lunch time and then refrigerated it during nap time, so it was ready to go when she woke up. The first thing she said when she woke up was “Can we dye eggs now?!”. She was so excited to see the colors and no matter what it looked like, she thought it was the most beautiful thing.
Natural Dyes
Red-cabbage dye: 4 cups chopped cabbage (approx. 1/2 cabbage)
Turmeric dye: 3 tablespoons turmeric mixed in hot water (I didn’t boil)
Onion-skin dye: 1-2 cups onion skins (I used yellow onions and shallots)
Beet dye: 1 large chopped beet
Espresso dye: I used my leftover espresso grinds mixed with hot water to get more color out. You can also use coffee for this, but I didn’t want to waste coffee.

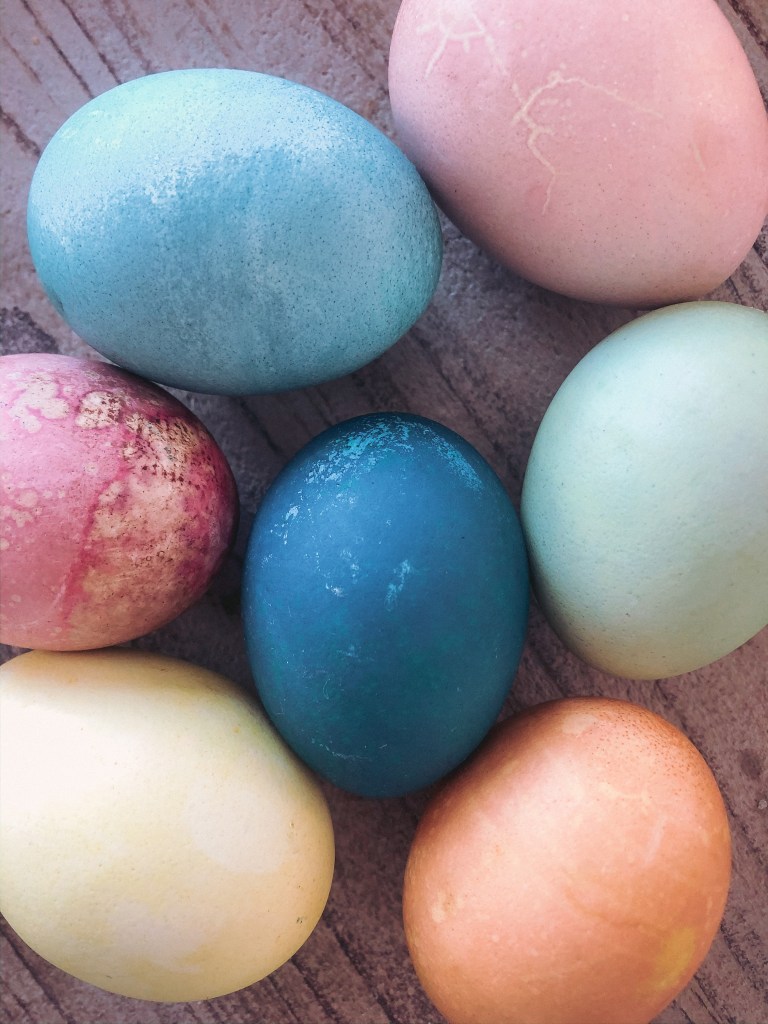
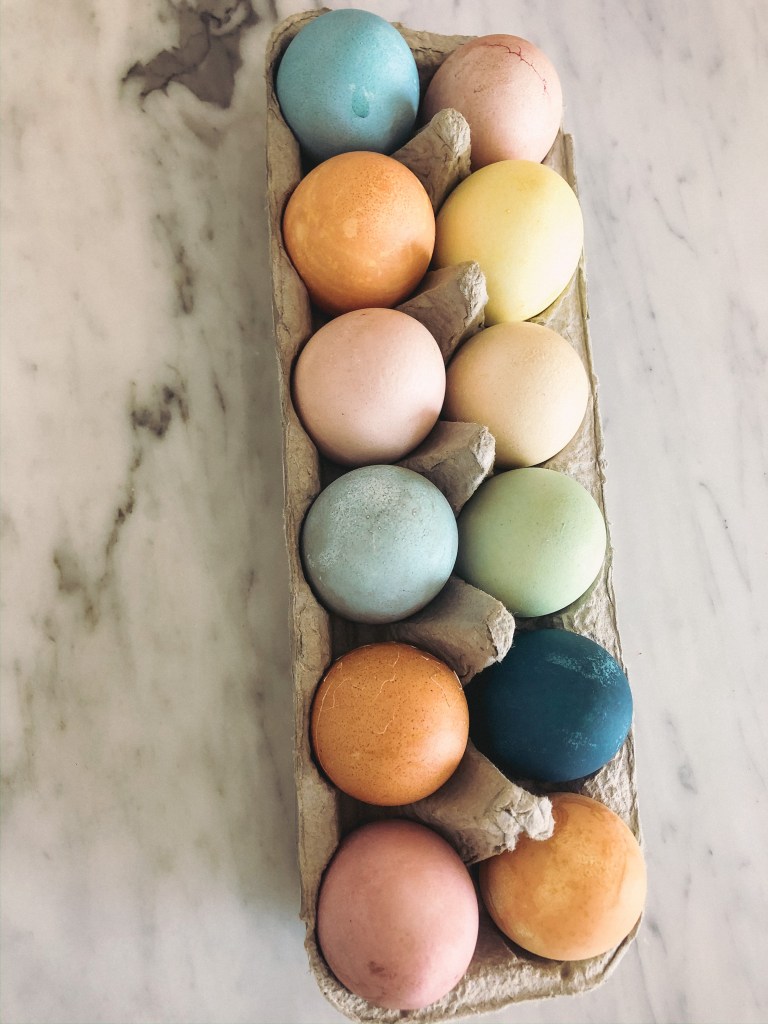
I made six colors-yellow, pink/red, blue, green (this one didn’t turn out the way I expected), orange and brown. I dyed one egg in each color by itself and then mixed the colors. I used parsley to make green (top left) and it was a fail, I made the chartreuse green by dyeing in cabbage first and then turmeric. Another mistake I made-I totally forgot the vinegar! You need to add a little vinegar to each dye to help it bond to the eggshell. I realized I forgot this after I pulled the eggs out after 30 minutes, then added it. Also, this method won’t give you perfectly evenly dyed eggs. Due to the natural dye and debris, unless you turn often it won’t be even. I kinda like the way it turned out and think it adds more character.

Step 1: Make dye-I boiled the ingredients in about 2 cups of water for 30 minutes, stirring constantly. Cool in refrigerator for at least an hour (you don’t want to recook your eggs).
Step 2: Add 2 teaspoons of white vinegar to dye. Place eggs in dye for at least 30 minutes, recipes to how I made my colors below.
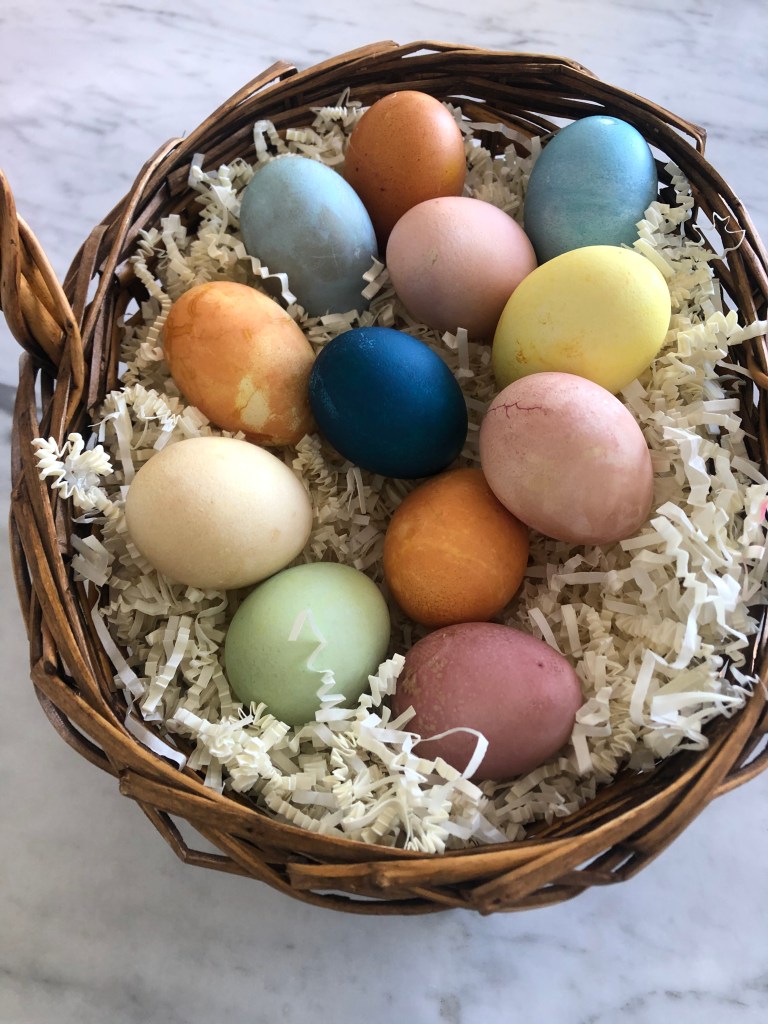
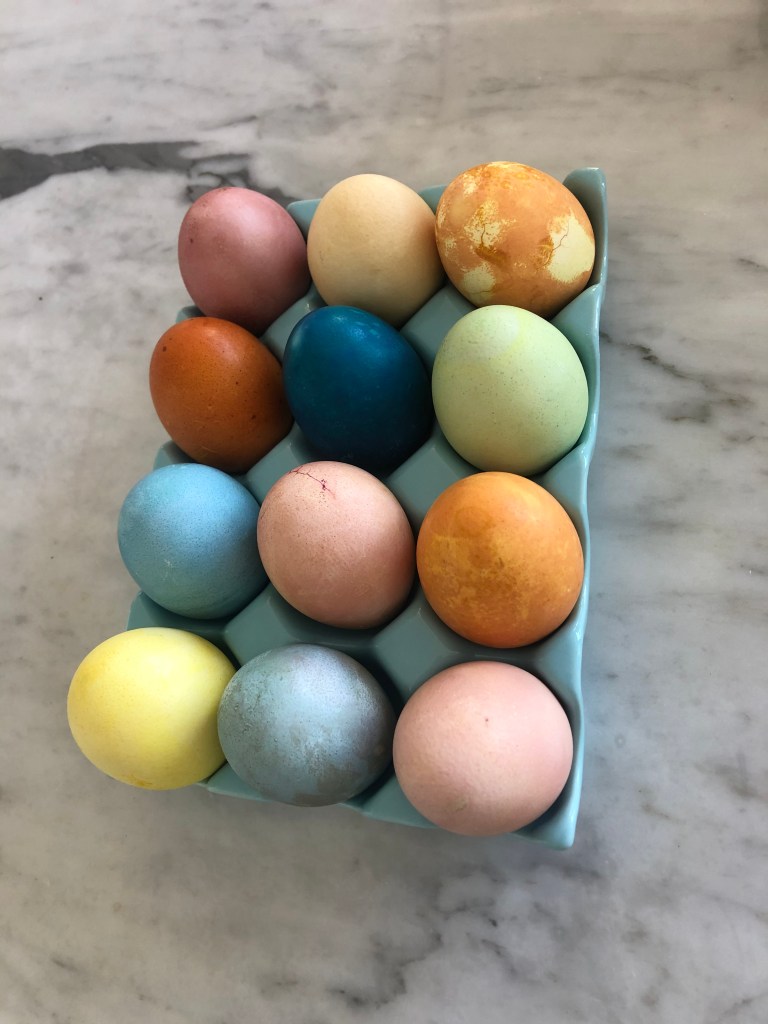
Step 3: Have fun! I messed up, my daughter dropped more than one egg on the floor and the colors did not turn out as expected. However, it was a fun experiment and she wanted to do more eggs after we did them all. My favorite ones were the royal blue, mint green and pink.
Yellow: Soak eggs in turmeric dye, 30-60 minutes.
Light Brown: Soak eggs in used espresso grinds, 30-60 minutes.
Gold: Soak eggs in onion-skin dye, 30 minutes.
Light Pink: Soak eggs in beet dye, 30-60 minutes.
Dark Pink: Soak eggs in beet dye overnight in refrigerator.
Light Blue: Soak eggs in cabbage dye, 30-60 minutes.
Royal Blue: Soak eggs in cabbage dye overnight in refrigerator.
Lavender: Soak eggs in beet dye, 30-60 minutes. Follow with room-temperature cabbage dye for a few minutes.
Mint Green: Soak eggs in turmeric dye for 30 minutes. Follow with cabbage dye, 3-5 minutes (check on egg every minute to get color you want).
Coral: Soak eggs in turmeric dye for 30 minutes. Follow with onion-skin dye, 30 minutes.
You can also use frozen fruit, wine, avocado skins and other items to dye your eggs. Basically if it stains your hands, it will dye your eggs!

Loved that ❤
LikeLiked by 1 person
Thank you! Hope you enjoy doing it too!!
LikeLike
I will
And I loooove your blog
I mean I’m pretty new to this whole blogging thing but I believe we should all support each other, right?
LikeLiked by 1 person
Ah, thank you! Yes, I totally agree. I’m still new too!!
LikeLiked by 1 person
Great insight, thank you for sharing!
LikeLiked by 1 person
Thank you for reading, hope you enjoy!
LikeLike
I love the idea of using what you have to make dye. Such a great idea!
LikeLike
Even as adults my sister and I still dye eggs for Easter. So this is a really cool option in case we forget to buy boxed dyes one year.
LikeLike